STEP 1: CREATE A BUILD
Select the target lifecycle after navigating to the Deploy page & click the “Make Current” button. The build is complete when the archive status is “current”.

STEP 2: DOWNLOAD AND SAVE A BUILD
Download the Archive.zip file to your target deployment server. Extract the contents & save in the location defined in the precedence solution.

STEP 3: DEPLOY
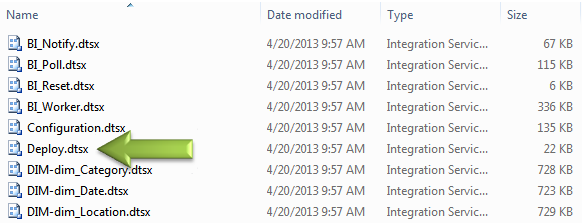
Execute the package named “Deploy.dtsx” from the deployment location. All project configuration, schema updates, and precedence settings will be deployed.

ALL DONE!
Congratulations! Your project is now deployed. Ready to start the load process? Simply run the “Reset” sql agent job. Detailed load status can be monitored by viewing the “Precedence” table using the attached script.
LeapFrogBI Monitoring Solution
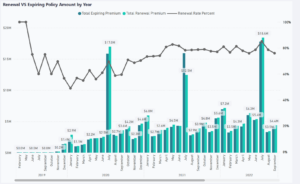
Now you need to monitor the load process, right? LeapFrogBI make this easy as well by providing a prebuilt SQL Server Reporting Services project that provides reports which enable users to monitor the load process (image below), component history, statistics, and much more. Download the monitoring project, LFBILog, at the link below. To deploy simply open the solution, set the project deployment properties, and update connection to point to your LeapFrogBI deployment location.
Deployment Steps: Monitoring Solution

Before you Deploy
Before deploying, ensure that you have created the lifecycle environment variable (one time setup). If the precedence solution is using a custom environment variable, then this will need to be created as well.
LeapFrogBI configuration is centrally managed in a configuration database. This configuration database provides details of all other required connections and configurations. To gain access to the configuration database an environment variable with a connection string as its value is required.
Create a system environment variable with the name set to the value presented in the Deploy page for the selected lifecycle. The name will start with LFBIConsole and will be suffixed with the selected lifecycle’s abbreviation. The environment variable value must be an oledb connection string point to the LFBI Console database of your choice. If you selected to use the “Lifecycle Environment Variable”, then you are all set. If not, then create the required environment variable for the precedence solution as well.
Sample connection string:
Data Source=austx01\ss2008r2;Initial Catalog=AdventureWorksReplay-Console;Provider=SQLNCLI10.1;Integrated Security=SSPI;Auto Translate=False;Application Name=LFBIConsole;
Also consider your target architecture. Keep it as simple as possible while meeting your goals. You can find a description of the architecture options that LeapFrogBI supports here.


